Trying to figure out how to edit your Avon online store? I’ve outlined all the steps to show you how to find the editor and make your changes.
Step #1
FIND THE E-STORE EDITOR
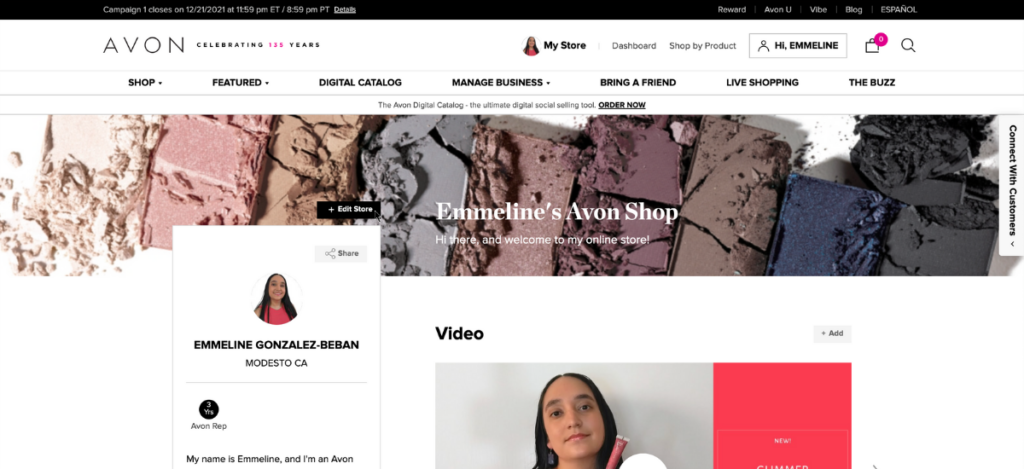
From your homepage, find the “my store” tab towards the top center of the page, and click on this. It will take you to the rep view of your online store.
Next to your profile photo, you will see a small black button called “edit store”. When you click on this, you’ll be prompted to choose a language, and then the e-store editor will open.
Step #2
CHOOSE A BANNER
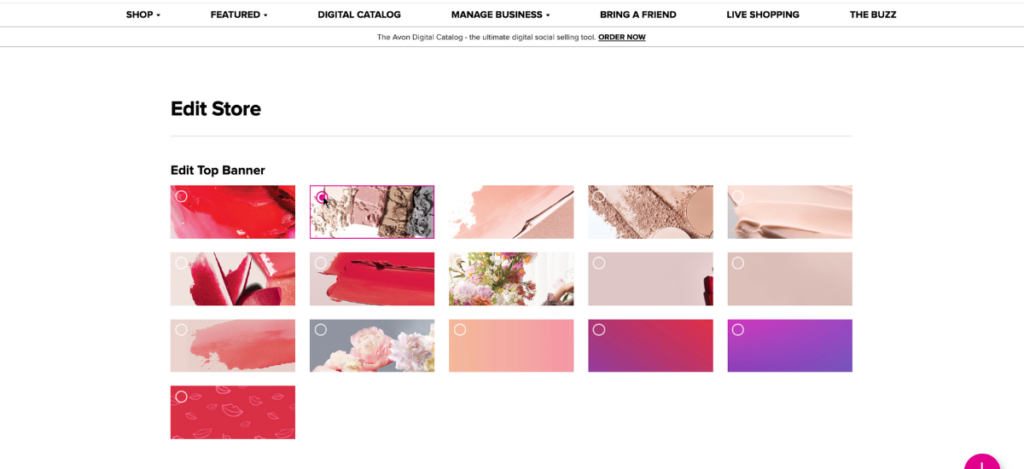
This first option lets you change the banner at the top of your store. There are a few different photos to choose from depending on your aesthetic. Simply click on your choice.
Step #3
UPLOAD A PROFILE PHOTO
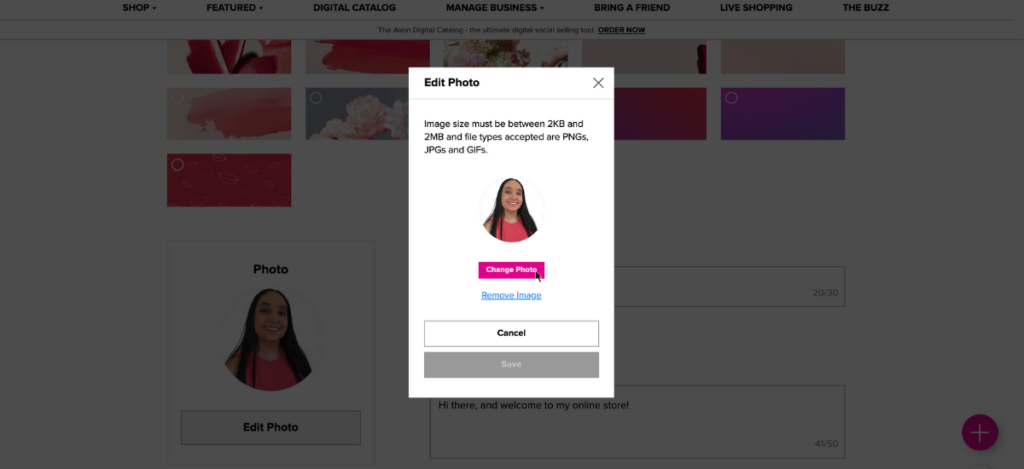
The next option is to add a profile photo. Click on the “Edit Photo” button to get started.
This will pull up a box where you can add your photo. At the top of this box, you can see the file requirements and plan your picture accordingly. If this is your first time adding a picture there, you’ll see an “upload photo” button – which will take you through the upload process. Then, click the save changes button to save.
Step #4
CREATE A SHOP NAME AND TAGLINE
Towards the right of your photo, you will see a section called “Your Online Store Name”. This section will appear over your banner, and is a chance to personalize the name of your online store.
Next, you will see a section called “Welcome Message”. Here, you can write a short welcome message that will effectively serve as a tagline for your online store.
Step #5
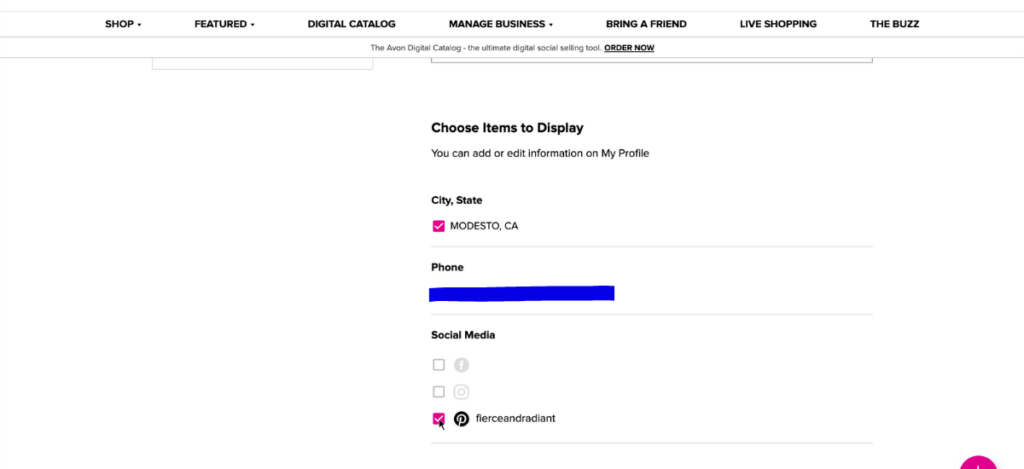
CHOOSE ITEMS TO DISPLAY
The next section is called “Choose Items to Display”. Here, you can edit what personal information appears on your profile. These check boxes are self explanatory, though I’ve blurred some of them out for my privacy. It includes your city, phone number, and social media profiles.
Please note that you cannot edit this information here. If you need to make edits, you can do so under the “My Profile” section of your back office.
Step #6
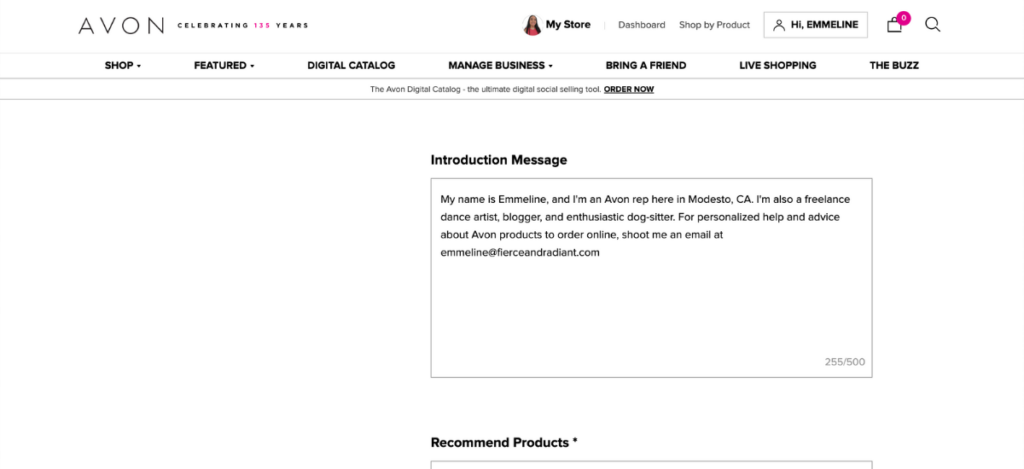
ADD A PERSONAL MESSAGE
Next is your personal message. Here, you can introduce yourself and tell customers a little bit about you. Your message can be up to 500 characters.
Step #7
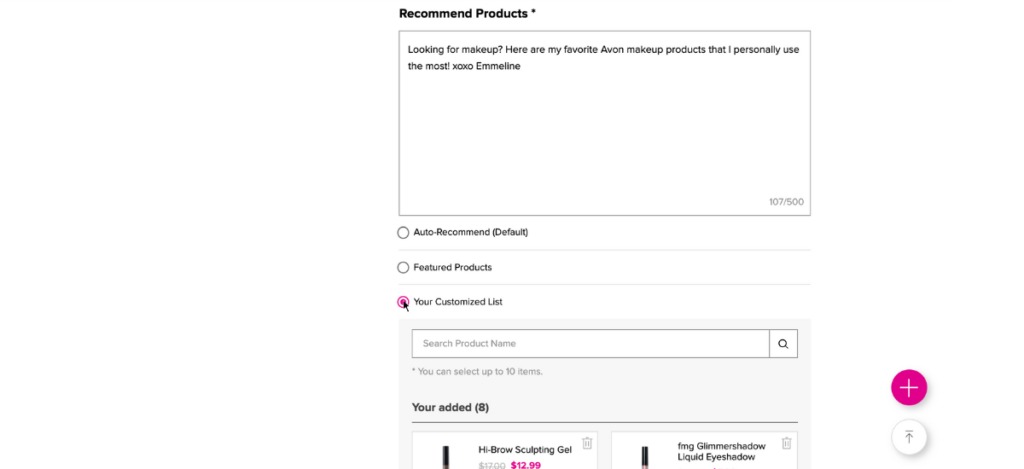
FEATURE YOUR FAVORITES
If you scroll down, you’ll see an opportunity to feature your favorite products.
First, you’ll see a box called “Recommend Products”. Here, you can write a little message saying something about your recommendations to make it feel more personal.
Underneath the box, you can choose between 3 options for your recommendations. If you choose “Auto-Recommend”, your e-store will choose products automatically. If you choose “Featured Products”, your e-store will show recent/and or popular products. If you choose “Your Customized List”, you can hand-select your favorite products that you want to recommend. I personally think this is the best option for all reps!
Make your choice, and click “save changes” to save all the edits you made in steps 2-6.
Step #8
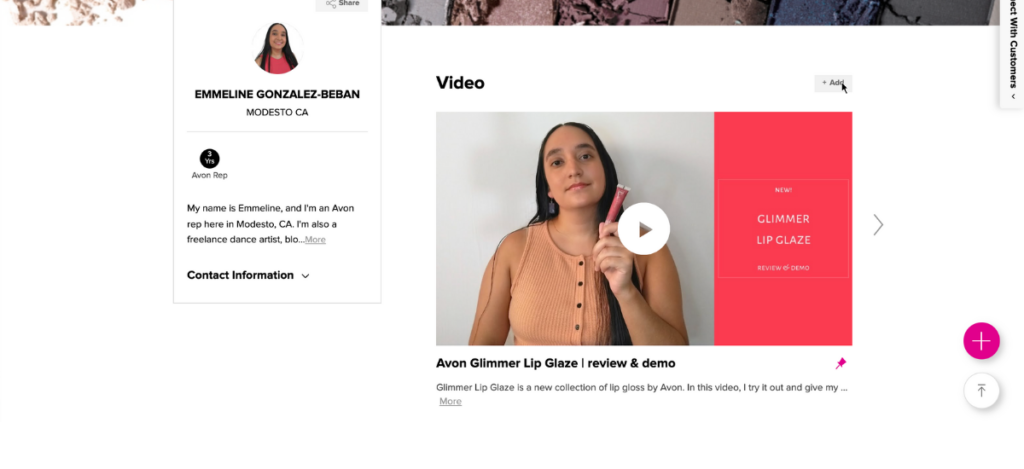
ADD YOUR VIDEOS
If you have a youtube channel for your Avon business, you can now feature your videos on your e-store. However, this section is not part of the e-store editor. Click on the “My Store” tab once again to return to your rep store view.
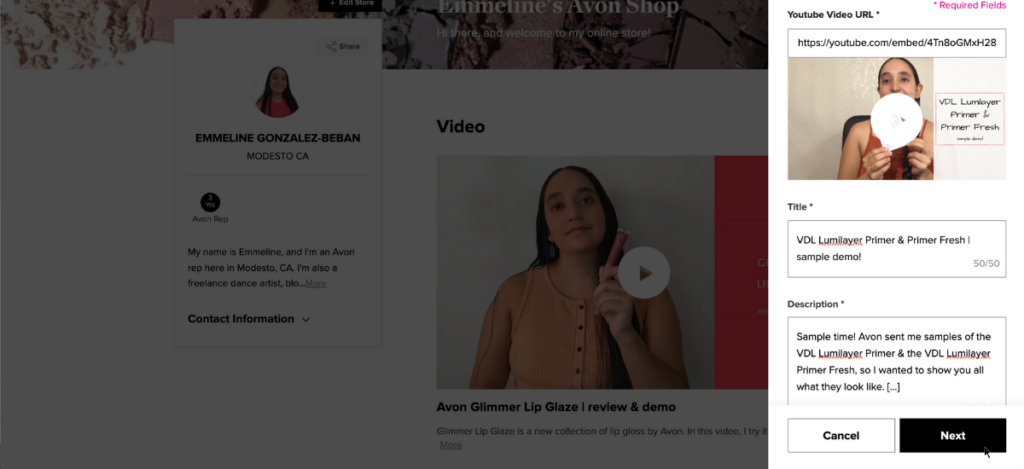
Towards the right, you wil see a section called “Video”. Click the grey “Add” button to get started. This will open up a box where you can add a youtube url, title, and description for your video. Then click “Next”.
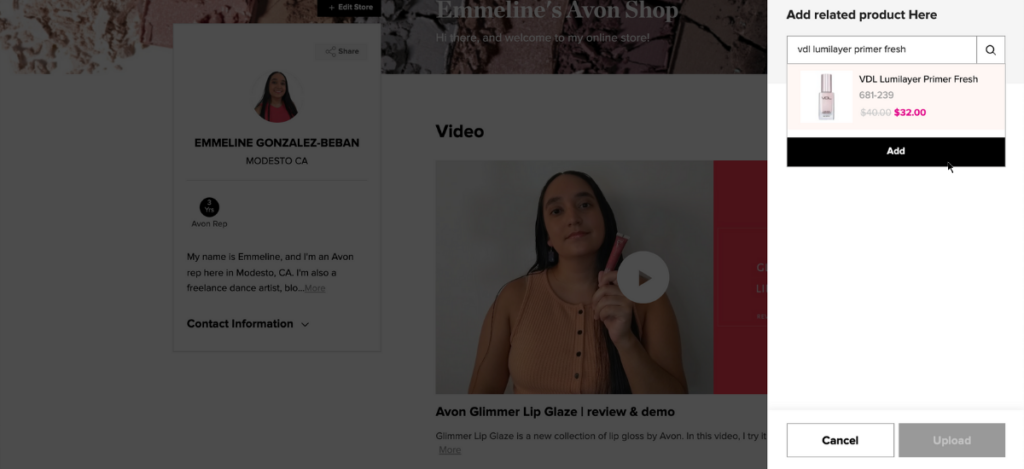
Next, you can select the product(s) that you discussed in the video, which will appear right below your video for customers to click on. You must select at least one product. Once you’ve made your selection(s), the “Upload” Button will become clickable, and you can upload your video.
And that’s it! You’ve just learned how to edit your Avon online store!
If you need more help, make sure to check out the other tutorials on the blog. If you don’t see your question answered yet, feel free to ask in the comments below!